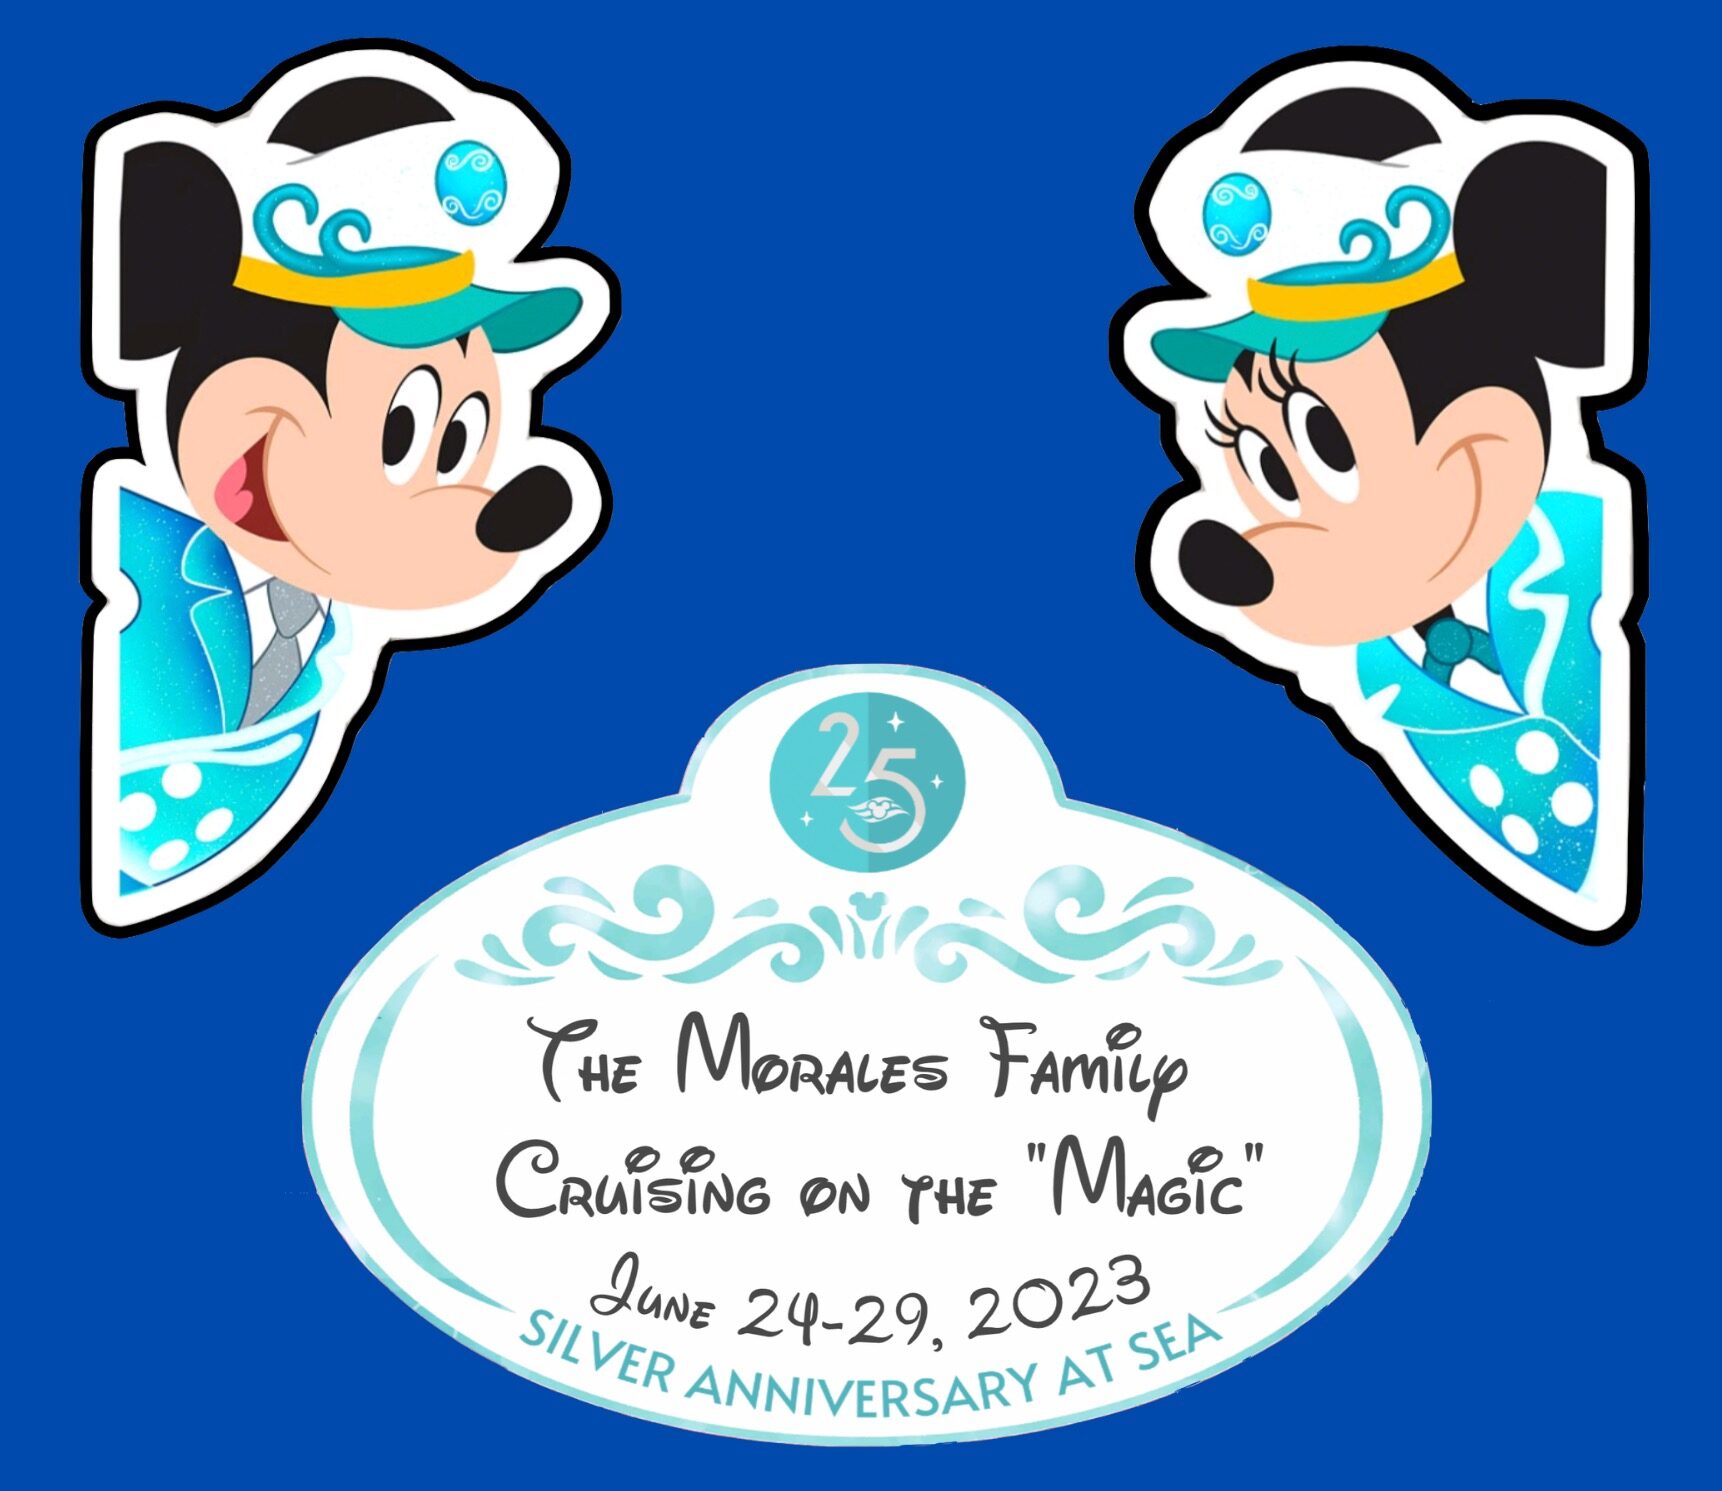
If you’re preparing to embark on your first-ever Disney Cruise or are interested in booking one for a future vacation, you might like to know that many Disney cruisers enjoy decorating their stateroom doors. While this is optional, it’s certainly a fun way to add some extra magic to your vacation and can also help you and your family easily spot your own room. Plus, other guests, like myself, simply enjoy walking around the ship and seeing the creative decorations that people come up with! All the stateroom doors aboard any Disney ship are magnetic, which makes for some easy and fun decorating.
Before getting into decorating, however, be aware that there are some rules to decorating your Disney doors, such as
- You cannot use tape or any adhesive because it can damage the door
- You cannot use any hanging organizers over the doors because they can scratch the door and trim.
Most importantly, keep in mind that if you violate any of these rules, Disney will fine you $100 per incident as a cost of repair.
Now, let’s get to some decorating ideas! You have the choice of either creating your own magnets or purchasing them from sites like Etsy. If you would like to make it a DIY project, you can use sites such as Canva or even Microsoft Word to create your own designs and graphics.
Personally, I enjoy creating and putting different designs together and I always use Canva before uploading them to my Cricut Design Space to print and cut the shapes. If you don’t have Cricut, no worries. Depending on how simple your design is, you can just print it out and use some scissors.
I’ve had the opportunity to embark on two Disney cruises, Disney Dream and Disney Magic. Below are the decorations we used for our first Disney cruise aboard the Dream.


The first set of magnets I created using different pictures I found via Google Images as well as this handy dandy Stateroom Door Decorating art pack, published by the Disney Parks Blog. We did our first cruise on the Dream to celebrate my little brother’s birthday, so we made a little tag to show that.
We made the Mickey head name tags using glitter cardstock paper from Michaels and printed images. The second set consists of images I found on Etsy. For the “Cruise Line” tag and the characters, we just printed them and attached a cut out of the same shape to the back of it so it wouldn’t be so flimsy. To make the magnets, we bought a pack of small adhesive magnets from Michaels. After printing and cutting out the designs, just attach one or two magnets, and voila, you’re done! Below is an image of what our door looked like:

For our second cruise aboard the Magic, we wanted to decorate our door to celebrate the 25th Silver Anniversary of Disney Cruise Line. Using the colors of the theme, our magnets looked as follows:


Since my older brother was able to join the family trip this time, we got two connecting rooms and made these mickey-pointing hands to indicate our family was in both rooms. Here is what our doors looked like the second time around:


Remember, although decorations are not required, it can be a fun feat to your Disney cruise vacation, especially if you’re traveling with kiddos. It’s very easy to get ideas by simply browsing on Google and shops like Etsy. Whether you decide to purchase custom magnets or make your own, have some fun with it and anticipate the excitement for your upcoming trip!
Happy decorating!


Leave a Reply